
coffee table Instructions

STEP 1: Cut the (2) Long Aprons to 40” and the (2) Short Aprons to 20.5”. Cut the (4) Legs to 12”.

STEP 2: Find a soft floor surface or lay down a towel to protect the brackets and the surface they are sitting on from getting scuffed or scratched. Lay out 3-way corner brackets on the floor.

STEP 3: Flip the brackets upside down.

STEP 4: Lay out the long aprons (40” long) and the short aprons (20.5” long) in between the brackets with the most attractive side facing out.

STEP 5: Slide the long aprons into their respective slots in the brackets. Keep sliding the long apron in until it can’t slide any more and the apron end is up against the inside face of the bracket. Important note, the long aprons must be installed frst and must be fully inserted in the bracket. Use the Allen Wrench (provided with each kit) to tighten the pre installed set screws up against the wood. Twist the set screws until you feel resistance as they hit the wood. From this point, continue turning the set screws for 1-1/2 revolutions so that they are pressing firmly against the apron. The flange that the set screws sits in should bend out around 1/16” in the process. To ensure the apron is firmly in place, carefully pull the apron apart from the bracket with a medium amount of force, it shouldn’t move. If it does move, keep turning the set screws 1/2 a revolution until the aprons are held firmly in place.

STEP 6: Slide both short aprons up against the same long apron and tighten the set screws as described in Step 5.

STEP 7: Slide the remaining long apron (which should already be screwed into brackets on each end) into ends of the short aprons. You should switch back and forth between each side sliding one side in 1/2 then moving the other side in 1/2” and repeating the process until the apron ends are up against the long apron. Once the short aprons are up against the long aprons, tighten the set screws as described in Step 4.

STEP 8: Slide finished legs into the brackets and twist the pre installed bolts using the same process as described in Step 4. Be sure to pull on legs, before flipping the coffee table structure, to ensure they are firmly secured. If the table will sit on a solid floor (wood, tile, stone, etc.) We recommend purchasing some affordable adhesive felt pads and sticking one to the bottom of each leg.

STEP 9: Cut table top materials out of 1x6 boards (actual dimensions for standard dimensions lumber is .75”x5.5” but, for the top, it might be worth going with thicker wood that has an actual thickness of 1”. Side note: this is known as 4/4 wood - the numerator refers to the numbers of quarters of an inch the wood is - so a 1” thick piece of wood has 4 quarters of an inch i.e. .25”+.25”+.25”+.25”).

STEP 10: Apply glue to the surface of edges that are being joined being joined. Tighten glued legs with clamps. If clamps are not available, you can tension the boards together with painters tape (tope an bottom) and have them dry on a flat surface with weight (could be a bag of sand) applied to the top to keep the boards from bowing up. Once dry, scape away excess glue and sand the surface of the wood to your liking.

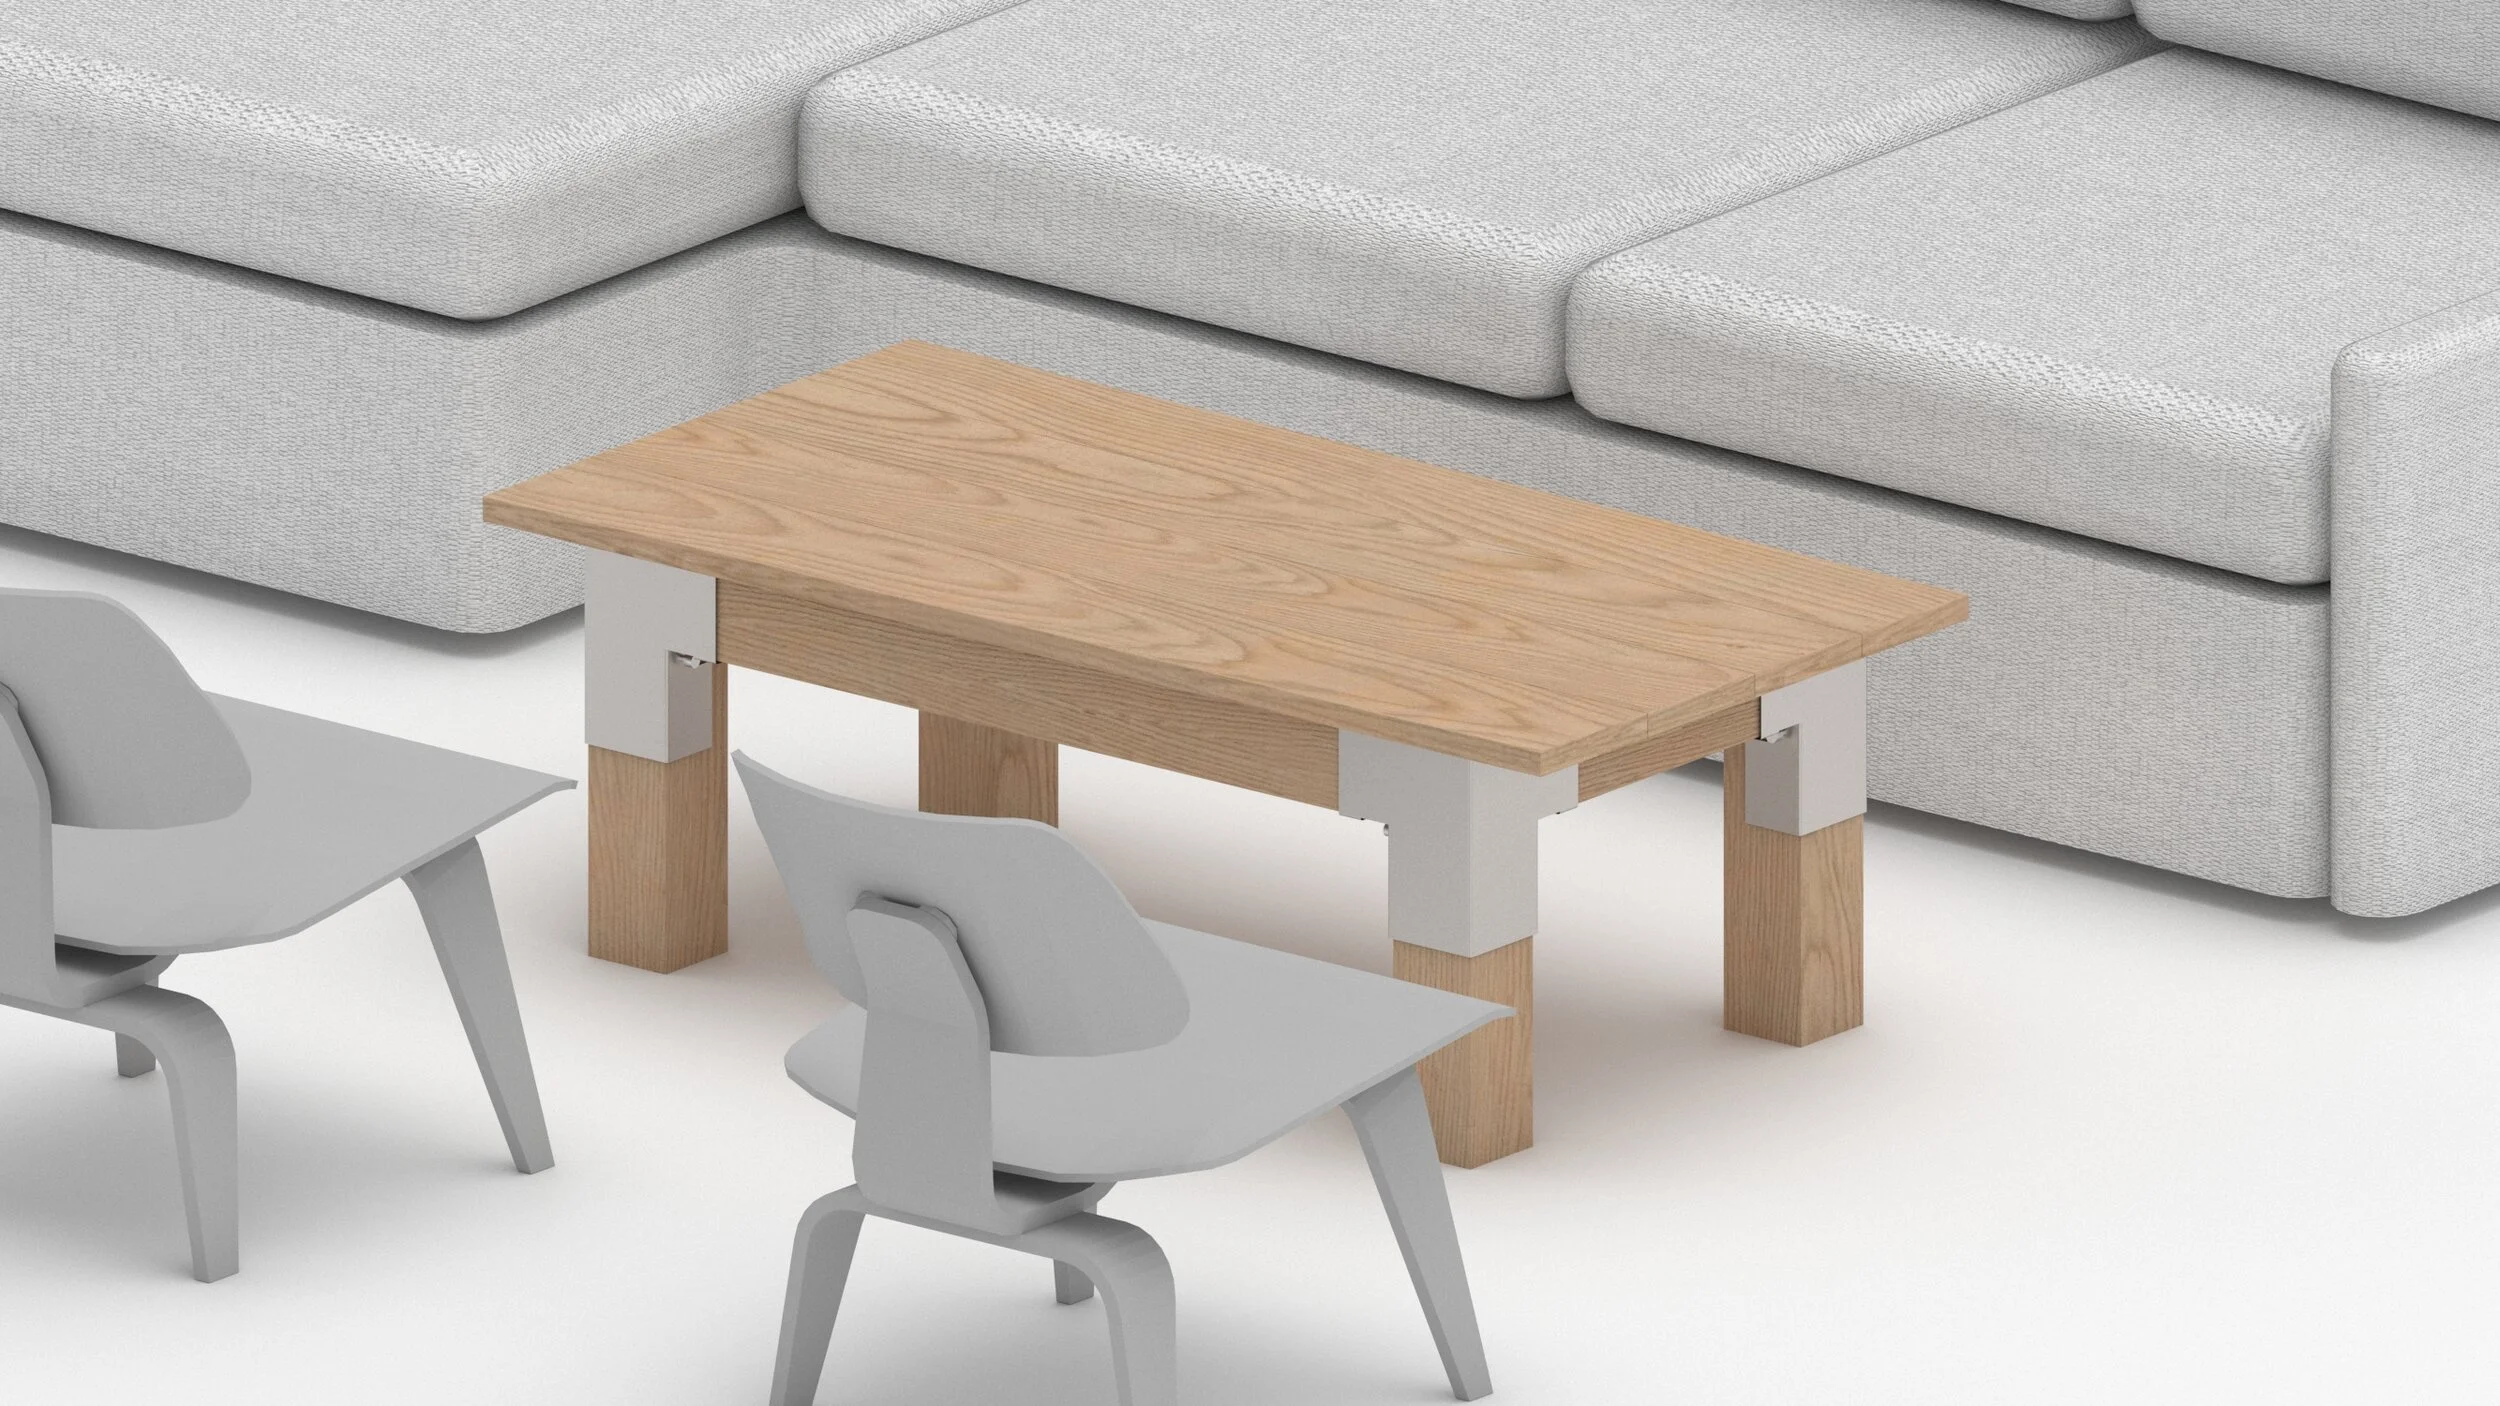
STEP 11: Lay the top down top the coffee table structure. If you are making / using a wood top, us small “L” brackets to secure the top to the aprons. If installing “L” brackets, we recommend flipping over the top and the structure to provide easier access to pre-drill / screw in the brackets. If you are using a heavy material like solid stone or glass, rubber or felt pads should be placed atop the long and short aprons to provide a soft surface for the top to sit on, to make up the gap between the top of the bracket and the top of the aprons (1/8” gap) and to provide some friction that will prevent the top from moving. Please note, whenever moving the table, always move it by the aprons (not the top).

STEP 12: ENJOY!!!